So my wonderful wife, who is awesome, got me the Arlen Ness direct bolt on fairing for Christmas. Of course I couldn't wait to get it installed. I threw it on quickly yesterday to get a test fit and ran it down the road on a quick test ride.
I was excited to finally get to replace the ugly little shield that I made, which is documented in this thread; http://grassrootsmotorsports.com/forum/sprockets/well-im-stuck-with-it-for-now-so/88828/page1/ It was interesting to see how close the Ness fairing and my little screen matched. Of course the aerodynamics of the fairing are much better with smoother air sure to flow off the back of it.


I like the mounting hardware in this kit, but I am a little disappointing in the quality of the fairing and screen itself. Considering the price I'm especially let down by the screen. It's very thin, hazed and awfully wavy. But, it still looks a lot better than my home made job.
One note on the headlight wiring. After opening the headlight housing and laying the new harness next to the existing one, I noticed the new one was only about 1/4" longer than the existing one. I decided to just pull the excess wiring out of the housing where the factory had it rolled up. It has plenty of room when turning lock to lock so all I had to do was cover the excess wiring that came out of the sheathing. I pulled the sheathing of the supplied wiring and cut it. I wrapped it around the exposed wiring and secured it with zip ties.
Some pics of the first test fit.


Well there were some problems after the first test ride.
-
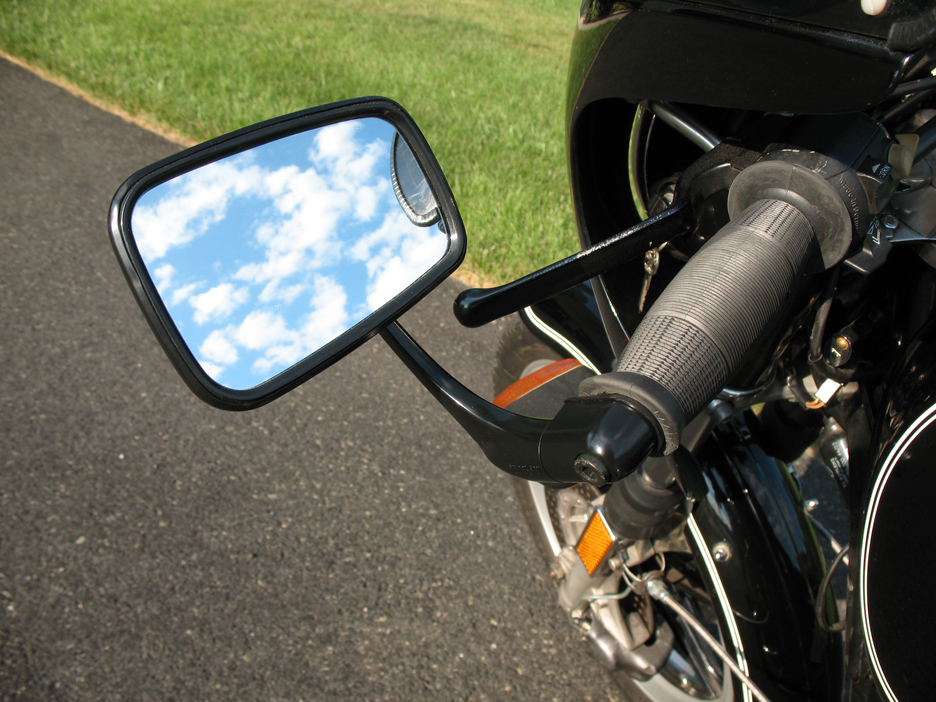
I had to move the turn signals to fit outside the fairing. This meant that the mirrors had to go back up top. Which meant that I couldn't see anything behind me anymore.
-
The fairing hit the master cylinder and the clutch cable. Which meant I had to lean the handlebar way back from my normal position.
-
I'm a pretty tall guy and the air coming off the fairing hit me directly in the chest. I'd say it was worse than having nothing at all up front. Of course it was extremely windy yesterday, but it was apparent that something had to be done.
I decided to see what I could do to raise it up some. I flipped the headlight extension bracket upside down. It raised it up about 4". This brought the bottom fairing bracket clamp up to the very bottom of the upper triple tree. As luck would have it the top holes in the fairing bracket lined up just below the speedo mount. I got some 1/4" all thread and cut it to fit. I also got some 1/4" copper pipe to make a spacer to fit between the bracket.
Raising it up addressed all three of my issues.
-
The fairing now hit the handlebars at a narrower spot allowing the turn signals to be moved in just enough to flip the mirrors back under. I can see again.
-
I was able to move the handlebars back up slightly. And with some minor cutting of the fairing around the master cylinder and clutch cable I got a little more. It's still a lot different than what I'm used to but it's not bad and I'm sure I'll adjust to it.
-
The air now hits me just above the bottom lip of my visor on my helmet. The air is nice and smooth, no buffeting. The vents in my helmet actually work now. The pocket of air is a lot calmer behind the fairing than my home built job, I have virtually no pressure on my chest.
I am extremely happy with it in this position. I like the looks and I like the functionality of it. Some pics of the test fit.


I haven't painted it yet but I feel black Plastidip is a pretty close match to the denim paint. So to hide the numerous scrapes and scuffs in the plastic I gave it about 7 or 8 good coats.
Here is the results.