Time to install a roll cage in our Miata.

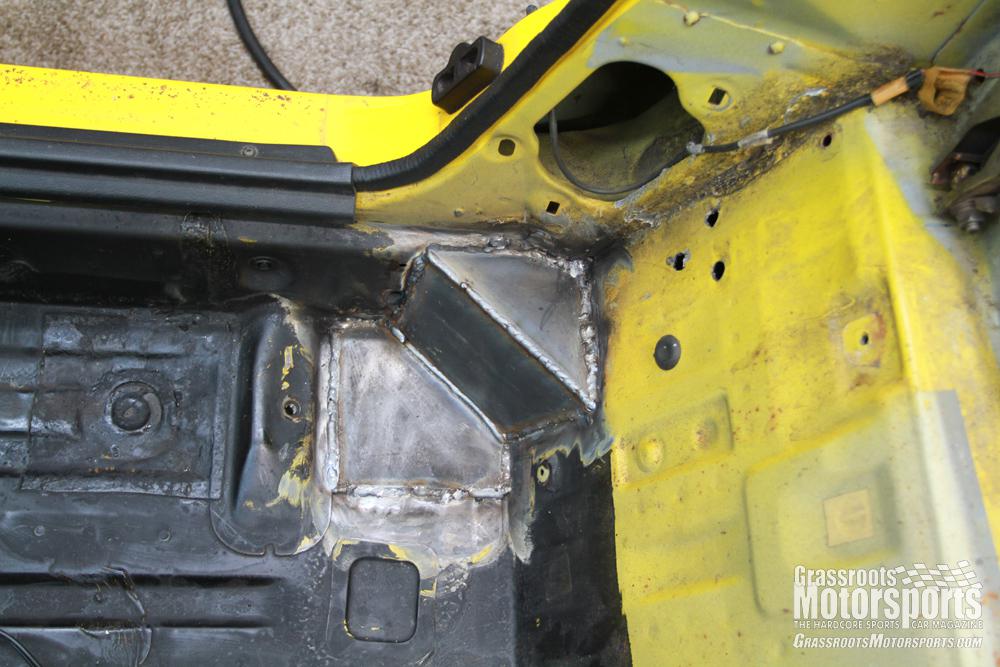
The first foot fit like a glove. Thanks, MiataCage.

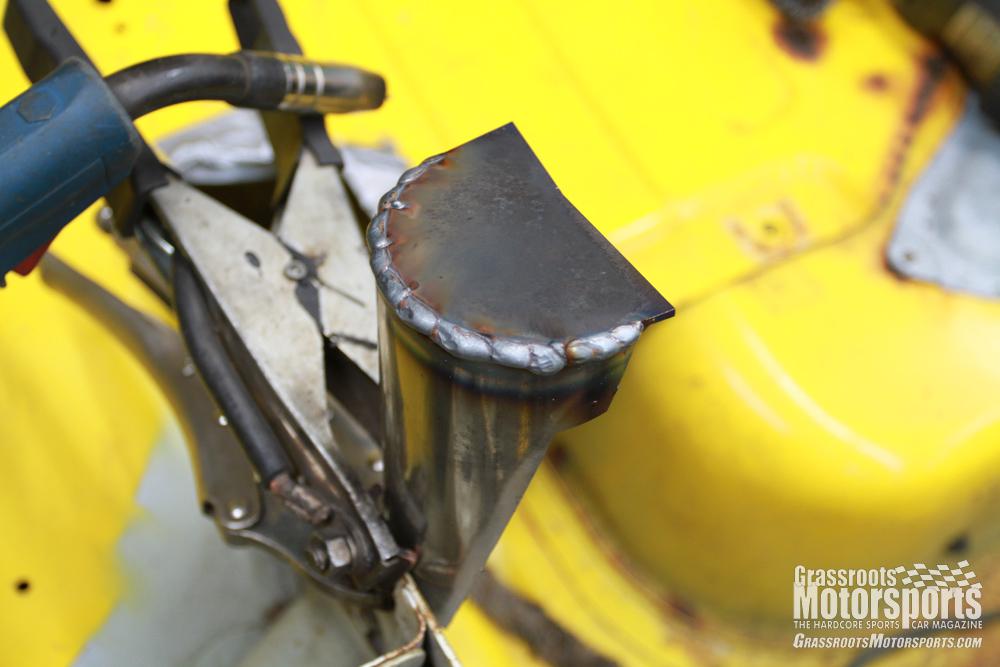
The MiataCage instructions said to assemble the front perches outside of the car. So that's what we did.

Front perch finished. Those laser-cut pieces go together very nicely.

Gutting the driver door was easy: cut away the center part.

And to cap off the evening, a quickie team meeting and some cookies.
To celebrate the night’s work, we ate some rainbow sprinkled cookies.
That MiataCage roll cage wasn’t going to simply leap into our Sunburst Yellow 1992 Mazda Miata. Its maker says to budget 18 to 20 hours for installation.
After removing the old roll bar and prepping the patient for surgery, it was time to really get to work. The cage comes with a very, very comprehensive installation book, and while there’s much temptation to just toss it, we decided that the book was written for a reason.
First, we had to finish installing the cage’s feet. Remember when roll cage feet were simply welded to the car’s floor? Fortunately those days are gone. Today’s better cages now sit on a boxed structure that ties to both the floor and the rocker panels.
MiataCage supplies the custom-cut pieces that form each box. It was up to us, though, to weld them together. So we fired up our Lincoln Electric welder and got to work.
The pieces that make up the feet fit as intended, some requiring just minimal grinding. After a couple of hours, we had half the feet installed.
We also gutted the driver-side door. The power saw took care of that in mere seconds.
To celebrate the night’s work, we ate some rainbow sprinkled cookies.
| Read a real car magazine: Subscribe to Grassroots Motorsports now. |
View all comments on the GRM forums
You'll need to log in to post.