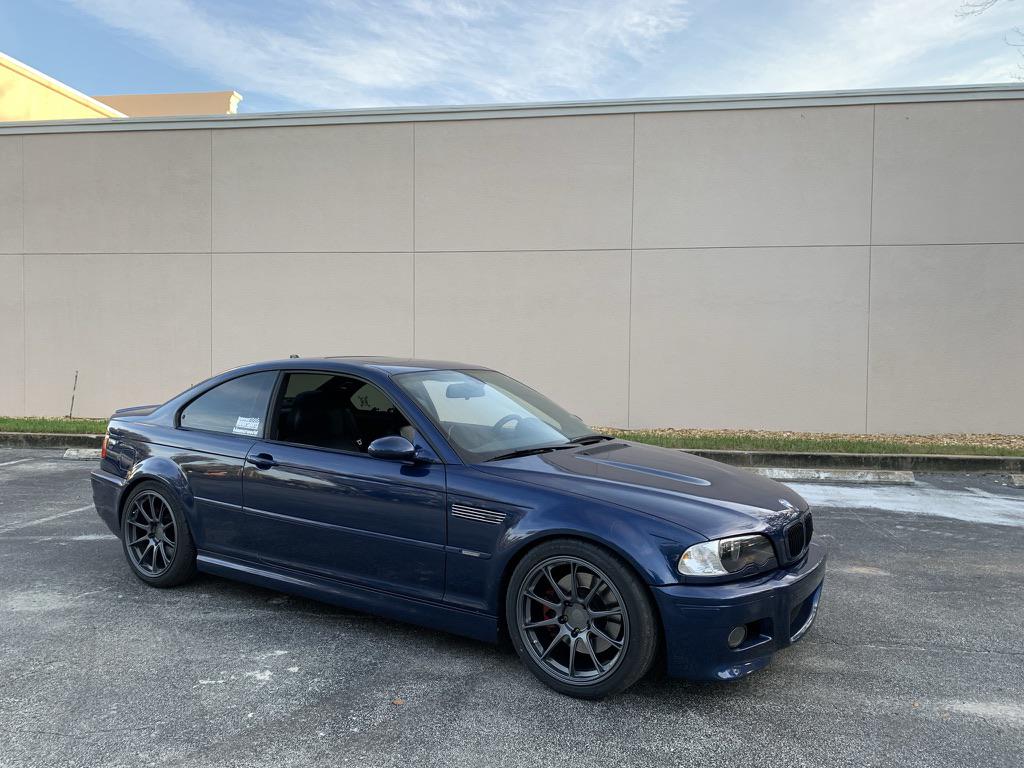
Why do so many German cars use bolts to secure wheels? Because someone there hates us.

Okay, maybe there’s a good, technical reason, but wheel bolts are kind of a pain, especially when you’re trying to swap wheels in the garage, at the track or, especially, on pit lane. Then consider how an 18-inch BMW M3 wheel and tire assembly weighs a bit more than the 13s found on an early VW Rabbit. And we haven’t even brought spacers into the equation.
Another consideration: Are those factory wheel bolts compatible with your aftermarket wheels?
So what to do? Convert to traditional studs and lug nuts–you know, like a normal car.
We called BimmerWorld to order some studs. We figured it would be a quick transaction. But, as usual, things went deeper and we learned a thing or two.
One big takeaway that lesson: "User error is a massive issue with wheel studs," BimmerWorld’s James Clay tells us. How’s that? Torquing lugs while hot–like immediately after a session. Stop doing that, he stresses, and follow the factory settings. (Spoiler alert: Proper torque for BimmerWorld’s studs and nuts is 75 lb.-ft but, of course, always check the directions.)
And something else that James stresses: Every piece of metal in this world, including lugs and studs, has a limited lifespan. Studs, he continues, are built to withstand a limited number of torque cycles. There isn’t an indicator, however, so he recommends regular replacement.
On the race cars, he figures 30 to 35 hours before swapping studs–the air guns used during pit stops are close, he says, but aren’t as accurate as torque wrenches. Even DE drivers, he continues, should implement some kind of schedule.
So, back to studs.

First up the BimmerWorld ladder are street studs. The bullet nose helps ease the nut in place, while a hex head at the tip aids installation. These studs feature a simple shoulder. They’re black zinc coated, and at 75mm long, they’ll accommodate a 12mm spacer. Retail price is about $5 each, and complete kits are offered.

One notch up is the BimmerWorld Race Bullet Nose Wheel Studs. The big differences: The threads run out into midair–helps with nut installation during pit stops. These studs also come treated with a “Dri-Loc” locking adhesive. These are offered in 82mm and 92mm lengths, and they retail for about $7 each.

BimmerWorld’s top offering is its Premium Race Bullet Nose Wheel Stud. As the name suggests, it again sports a bullet nose and features the “Dri-Loc” coating. These studs also have the same tensile strength as the regular race studs.

The Premium studs, however, receive mounting threads that are fully undercut to prevent the stud from cutting into the hub. The stud also features a pronounced shoulder so those undercut threads can’t touch the face of the hub.
But adding that shoulder requires each stud to be cut from a thicker piece of material, hence a more expensive process.


As BimmerWorld says, this is piece is designed for true professional motorsports–yet is also perfectly suitable for street, autocross and track days. It’s the company’s strongest stud. These studs are offered in 73mm, 82mm and 92mm lengths at about $10 each.
Check the BimmerWorld catalog for package deals plus lug nuts: chrome, black or yellow. Yellow? Yup, as seen in NASCAR. From the BimmerWorld catalog:
“The bright yellow finish makes them easy for a tire changer to spot. But there's more engineering beneath the surface. The special coating is heat-resistant and prevents the nut from sticking due to heat. Other features include recessed threads for easier alignment and slightly rounded head for faster socket engagement.” James adds that these nuts are formed in a hardened material that can withstand the spring-loaded speed sockets found in the pro pits. These go for about $4.50 each.
We went for the pro-level studs. We figured that wheel studs serve an important function, so we wanted the best ones possible and figured that it wasn’t a place to save a few bucks. That undercut mounting threads along with that extra shoulder sealed the deal for us. BimmerWorld offers a complete package for about $245.
But we indulged and also ordered the quick-change coated nuts. They simply look cool. Sorry, just being honest.
The official installations are found here, but here’s the short version.
Remove the stock bolts and clean the threads–we used a thread chaser followed by a blast of compressed air. Where a tap is designed to cut threads into a hole, a thread chaser simply cleans existing threads.
Then the studs are double-nutted so that they can be fit into the hubs. BimmerWorld includes the necessary nuts. (The trick, of course, is keeping the hub from spinning while you’re tightening the new studs, but a tip from James: A screwdriver stuck into a rotor vane and rotated against the caliper will hold the hub in place.)

Before installing the rear wheels, however, we fitted a pair of 12mm spacers so that we can run a square 18x9.5-inch wheel setup.
A 10mm spacer would have also widened the rear track enough, but James pushed us towards the 12mm spacers since they have enough material to duplicate the snout found on the stock hubs, complete with factory the 45-degree fillet.
The BimmerWorld spacers are machined from 6061-T1 aluminum and feature black anodizing for corrosion resistance. The size of the spacer is printed in white. A leading edge makes them easy to pry loose, while the large holes can accommodate 12mm or 14mm studs.
One thing learned while fitting them: They fit tightly–real tightly–so we gently snugged them in place with a few lugs.
Final step: Torquing the nuts to 75 lb.-ft. as recommended by BimmerWorld.
Then go for a drive and enjoy our square setup: 18x9.5-inch Titan 7 R-10 forged wheels paired with Yokohama ADVAN Apex V601 tires. (By the way, iPhone photo, no effects–just luck.)


View all comments on the GRM forums
You'll need to log in to post.