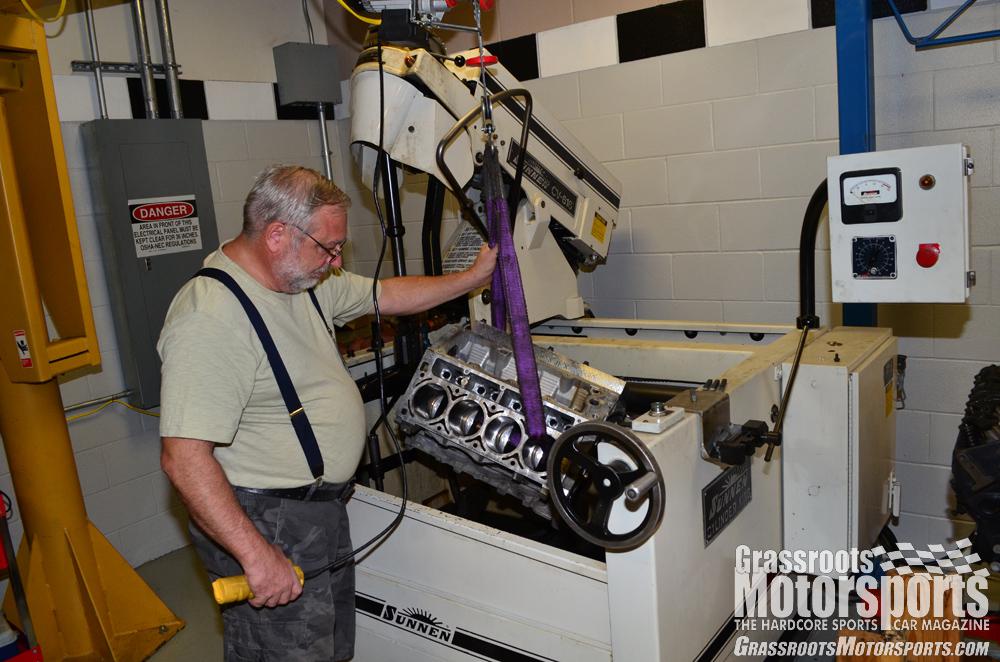
Before we could get to the fun part, there was more measuring involved.

To smooth our block and prevent any crud from interfering with our gasket or torque plate, we cleaned it with some fine sandpaper on a flat piece of aluminum stock.

Nice and clean.

Torque plates simulate the stress of a head, but allow full access to the cylinders.

We installed the torque plate with ARP hardware and assembly lube.

Then we torqued it to ARP's specs. The goal is to simulate real-world conditions as closely as possible.

Finally, we were ready to start honing.
We started with a Chevrolet LS1 V8, and after disassembling, cleaning, and measuring everything, we were finally ready to start the machine work. To save money and expand our horizons, we were doing everything ourselves–yes, even running the honing machine–thanks to Daytona State College‘s performance engine rebuilding and machining class. For just a few hundred bucks, we were spending two nights each week working on our engine.
Now that we had our pistons in hand, we could confirm their dimensions, prepare the block and the machinery, and begin honing the cylinders.
Why didn’t we start by boring our block? Unlike honing, boring makes a straight, precise hole even if what you start with isn’t. Honing merely rubs the hole with a grinding stone to remove material. We measured our block extensively, and determined that its cylinders were already straight and round. That fact, as well as our modest goal of only a 0.007” overbore, meant we could skip boring and go straight to the honing machine.
First, though, we needed to measure our new pistons. We sat down with the manufacturer-supplied specifications sheet and a micrometer, then confirmed every piston’s shape and size, as well as the math that led us to a 0.007” overbore. Our instructor said that good-quality pistons like ours from JE Pistons are almost always machined fairly precisely, but cheaper parts you may find at a wholesaler are sometimes quite variable. If that’s the case, it isn’t the end of the world–but you’ll need to hone each cylinder to match a specific piston.
Once we’d measured everything, it was time to prepare our block. This meant making sure the headgasket mating surface was smooth and flat with a piece of aluminum and sandpaper, then installing a torque plate and torquing it to spec with our Automotive Racing Products head bolts. Engine blocks actually flex just like any other piece of metal, and torque plates simulate the stress of having a cylinder head attached without blocking access to the cylinders. Hone a block, especially an aluminum one like our LS1, without using a torque plate, and you’re likely to end up with cylinders that are no longer perfect, well, cylinders.
With the block prepared and our pistons measured, we were ready to start honing. We’ll cover that process in the next project update.
Watch the pages of Grassroots Motorsports for the full project car series. Subscriptions start at just $10.
View all comments on the GRM forums
You'll need to log in to post.