There’s an oft-told bit of wisdom for those looking to buy a car: Avoid a rusty one at all costs. Sure, that’s easy for us to say from behind a keyboard, but when you’re out there roaming used car lots and surfing the Internet, you'll find that rusty cars are the norm in most parts of the country. Salty roads, wet climates, proximity to the ocean and even just time can turn a bright and shiny car into a rusted hulk before your very eyes.
Rust is often compared to cancer. If caught early, it can be stopped in its tracks. Allow it to spread, and the prognosis isn’t so good.
The process of treating rust is pretty straightforward, and we’ve found it to be one of the most enjoyable parts of a restoration. In our minds, it’s loads better than the wearisome steps that follow: body work, paint and filler.
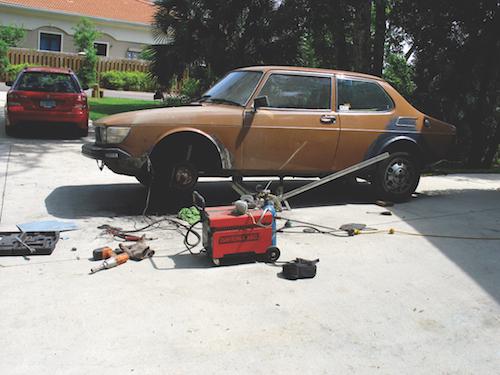
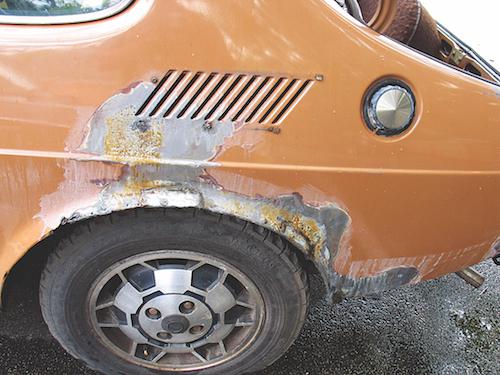
To dispel some of the common fears of working with rusty sheet metal, we’ll detail how we repaired some holes in the fender lip of our 1977 Saab 99 rally project. Tin worm often attacks the fender lips of the Saab 99 as well as the manufacturer’s later 900 models. Luckily, this is mostly a cosmetic area, not a structural one.
Repair or Replace?
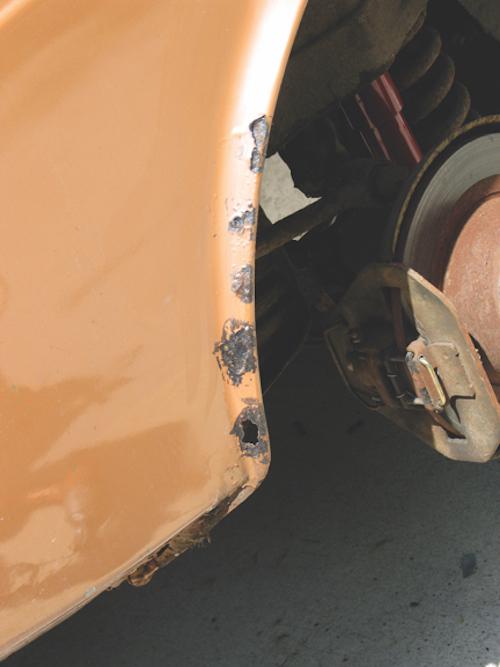
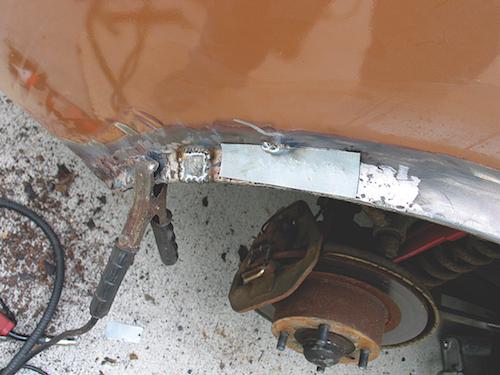
This is what we found on our 1977 Saab 99, and it's what typical fender lip rust looks like. Photography Credit: Per Shroeder
The first step in fixing a rusty panel is to determine if the panel should be replaced entirely or simply patched. Bolt-on parts like sunroofs, fenders and doors are prime candidates for straightforward removal and replacement.
If the panel is welded to the car itself or if replacing the entire panel is not an option, then the question becomes whether to use a patch panel that is specific to that application or to fabricate one from generic sheet metal stock. If a repair patch is available, get it. It’s often a lot less time consuming to go with a preformed replacement panel than to cut, bend and form a new one.
In our case, no one in the U.S. offers sheet metal patches for our Saab’s wheel arches. They’re available in the U.K. at a reasonable cost, but the shipping fee would have been prohibitive. So we'd need to fabricate a patch.
To get the process started we purchased a 2x3-foot piece of 20-gauge sheet metal from our local paint and body shop. For $20 we got a nice section of virgin sheet metal that’s easy to weld on and comes with a rust preventetive coating. Okay, time to get started.
Step 1: Clean Up Your Workplace
Photography Credit: Per Shroeder
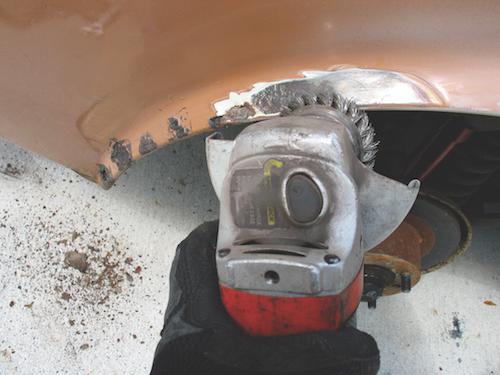
Now that you’re ready to get to work, you need to clean off all of the old paint, filler and rust that’s surrounding the hole. We use a wire cup brush fitted on an angle grinder for the majority of this cleaning.
Unfortunately, what started out looking like a small hole in the fender lip quickly grew as we removed layers of paint, Bondo and fiberglass filler from the fender. (Which reminds us: don’t forget to wear eye and respiratory protection for this and most other steps of the process.)
Step 2: Sparks Fly
Photography Credit: Per Shroeder
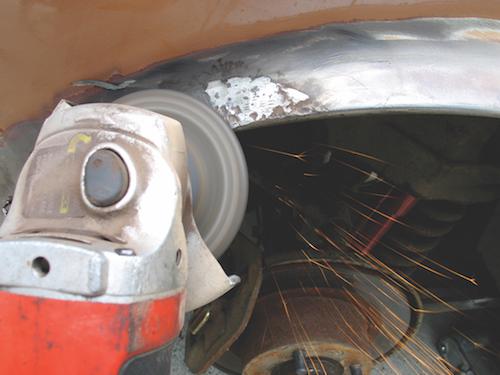
After we removed most of that nonmetallic filler with our wire brush, we mounted a grinding wheel on our angle grinder for the next step. This setup removes the remaining rust and would allow us to cut the hole to an easily patchable size and shape. A plasma cutter, reciprocating saw or die grinder can also be used for this step. Cut the sheet metal back until all of the rust around the hole’s perimeter is no longer visible.
Step 3: Make the Cut
Photography Credit: Sarah Young
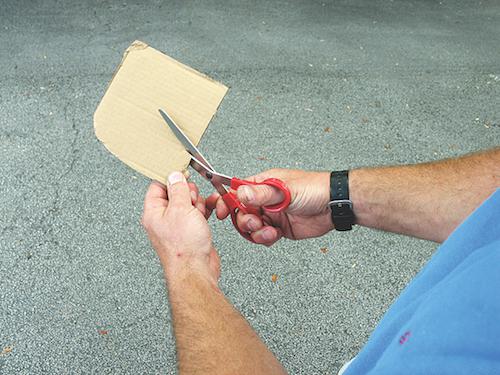
We have found that initially cutting the patch panel from your sheet metal can be a little tricky. Cutting a template out of cardboard is a great first step. Some trial fitting and trimming will make it pretty obvious when the cardboard patch is the correct size and shape; then you can trace the shape of the cardboard onto the sheet metal and cut out the patch panel.
Step 4: Choose Your Weapon
Photography Credit: Per Shroeder
Time for tool selection. Depending on where we’re working, we’ll use either a Daytona MIG 140-amp, 110-volt MIG welder or an HTP 160-amp, 220-volt MIG welder for our sheet metal repairs. We used the Daytona MIG machine this time.
We set the power at 2 out of 4 with the wire speed about a third of the way from the minimum. Note that these settings will vary depending on the welder and materials. To determine the correct settings for your application, it's a good idea to do some practice work on an old fender panel or other scrap metal.
Step 5: Spotty Work
Photography Credit: Per Shroeder
While wearing protective gloves, hold the patch where you want it and use one good tack weld to secure it in place. Check that the patch is in the correct spot and give it another tack weld. Apply a few more tack welds around the perimeter of the patch, bending the sheet metal to shape if necessary.
Step 6: A Stitch in Time
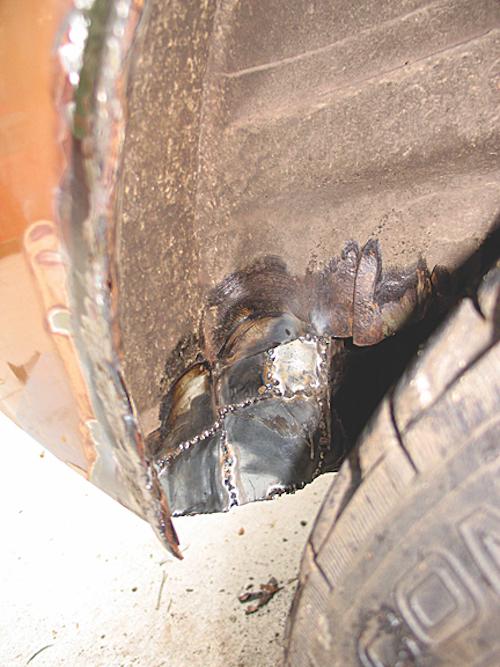
Photography Credit: Per Shroeder
Now that the patch is on there, you can start stitch welding around the perimeter. To limit the amount of heat that one area sees, jump around a bit and avoid laying one continuous bead. This method lessens the chance of warping and the amount of body filler you’ll need later.
Step 7: The Daily Grind
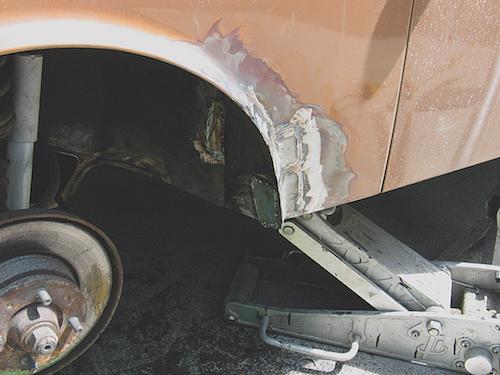
Photography Credit: Per Shroeder
Once the the patch is welded on, you can pick up an angle grinder and start cleaning up the welds. You should knock off the tops of the beads and clean up the area in order to minimize the amount of polyester filler you'll need during the paint process.
Step 8: Cover It Up
Photography Credit: Per Shroeder
All of that bare sheet metal should be covered up so that it doesn’t start to rust. Typically, we first apply a phosphoric acid metal treatment like Ospho to the area. We follow that with an etching primer.